How to install WSL 2 on Windows 10
It’s still a little surprising how much effort Microsoft is putting into Windows Subsystem for Linux (WSL), with even GUI support coming to Insider Preview versions of Windows later this year. Regardless – it’s a very welcome feature for many people. WSL 2 support is available for Windows 10 on Intel/AMD and Windows 10 on ARM!
WSL 2 System Requirements
- A computer with specs at least matching the Windows 10 system requirements
- Windows 10 (any SKU) 1903 and above for Intel/AMD x86-64 based machines, Windows 10 build 2004 or above for ARM64 based machines
- Intel VT-x/AMD-V/”Hardware Virtualisation” enabled in your BIOS/UEFI for virtualisation support
- Administrator access (every PowerShell window will need to be opened as Administrator)
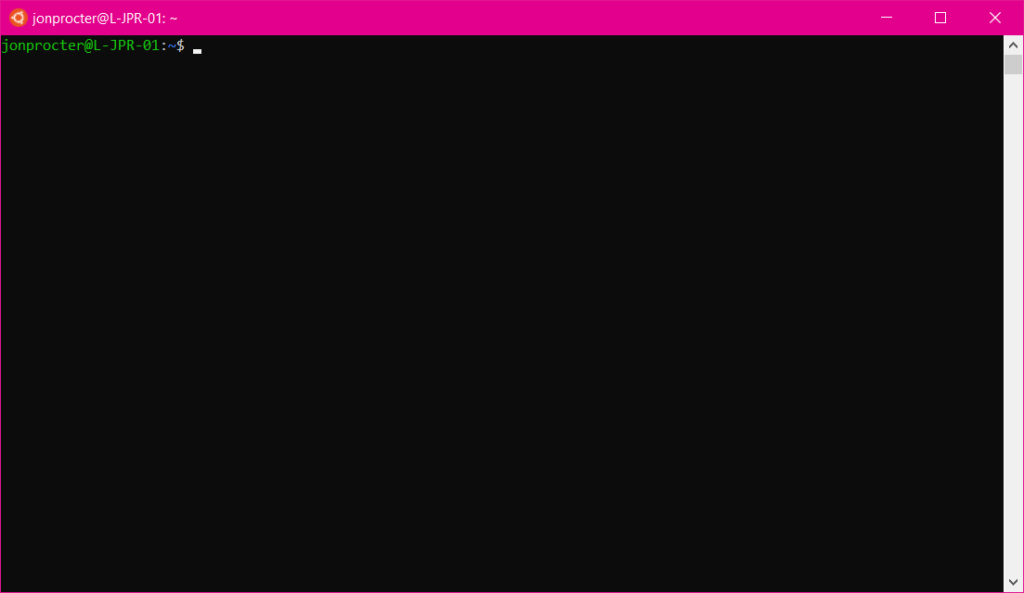
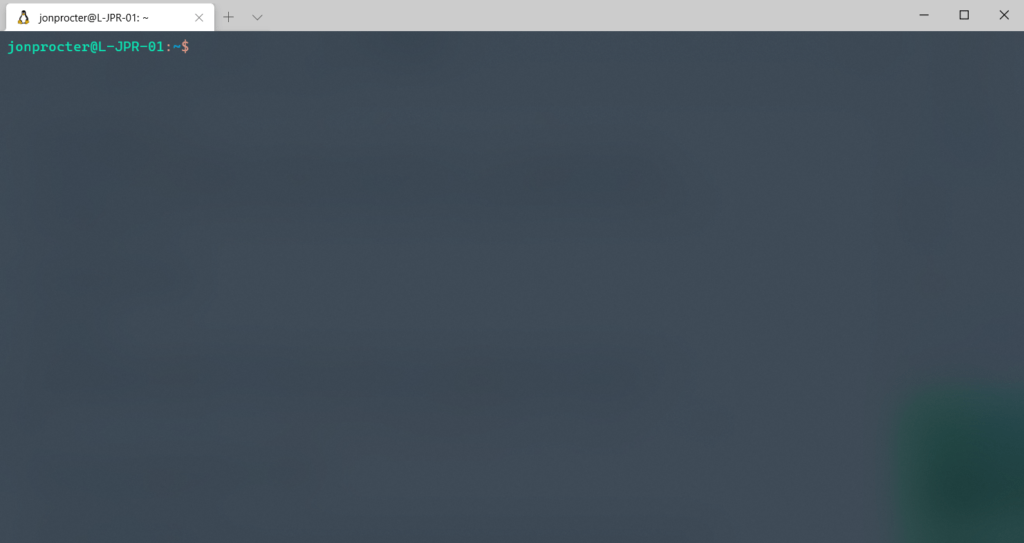
Windows Terminal:
After installing a distribution of Linux you will be able to launch it from the Start Menu, but the UI is dated. You may wish to install Microsoft’s new Windows Terminal product that looks much better and has theming support. Windows Terminal is available here.

A Note about Hyper-V:
WSL 2 uses Hyper-V to virtualise Linux. Previously it was impossible to run Hyper-V alongside VMWare Workstation and VirtualBox. Thankfully this has now changed with the release of VMWare Workstation 15.5.5 and VirtualBox 6.0. If you use either of those products, make sure you have the latest versions to enable them to work alongside Hyper-V.
Install Instructions:
Install the Windows Subsystem for Linux + the Virtual Machine Platform features:
The first step is to install the Windows Subsystem for Linux feature – this can be done either within the Turn Windows features on or off GUI, or with the command below PowerShell (opened as administrator):
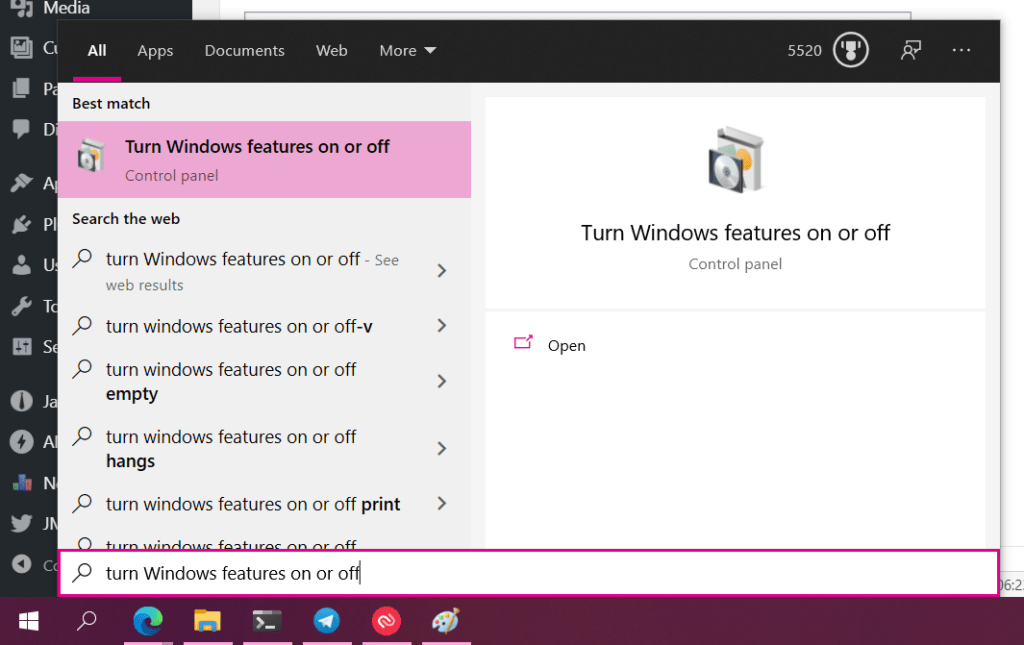
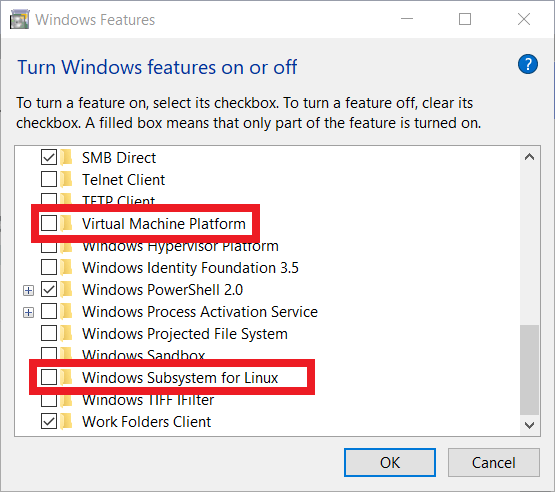
GUI:
Search for Turn Windows features on or off and then tick the Virtual Machine Platform and Windows Subsystem for Linux boxes. Click OK, and then run through the wizard to install the features. Reboot when prompted.
PowerShell:
dism.exe /online /enable-feature /featurename:Microsoft-Windows-Subsystem-Linux /all /norestart
and:
dism.exe /online /enable-feature /featurename:VirtualMachinePlatform /all /norestart
Once the feature installs, reboot your machine.
Download and install the Linux kernel update package:
Intel/AMD x86-64 machines: https://wslstorestorage.blob.core.windows.net/wslblob/wsl_update_x64.msi
ARM64 machines: https://wslstorestorage.blob.core.windows.net/wslblob/wsl_update_arm64.msi
Set WSL 2 as the default version:
In PowerShell run:
wsl --set-default-version 2
Note for those with WSL installed already:
If you already have WSL installed, you can upgrade your existing VMs to WSL2 with the command below. Replace Ubuntu-20.04 with the name of your installed distro (run wsl --list --verbose to list all WSL instances installed on your machine):
wsl --set-version Ubuntu-20.04 2
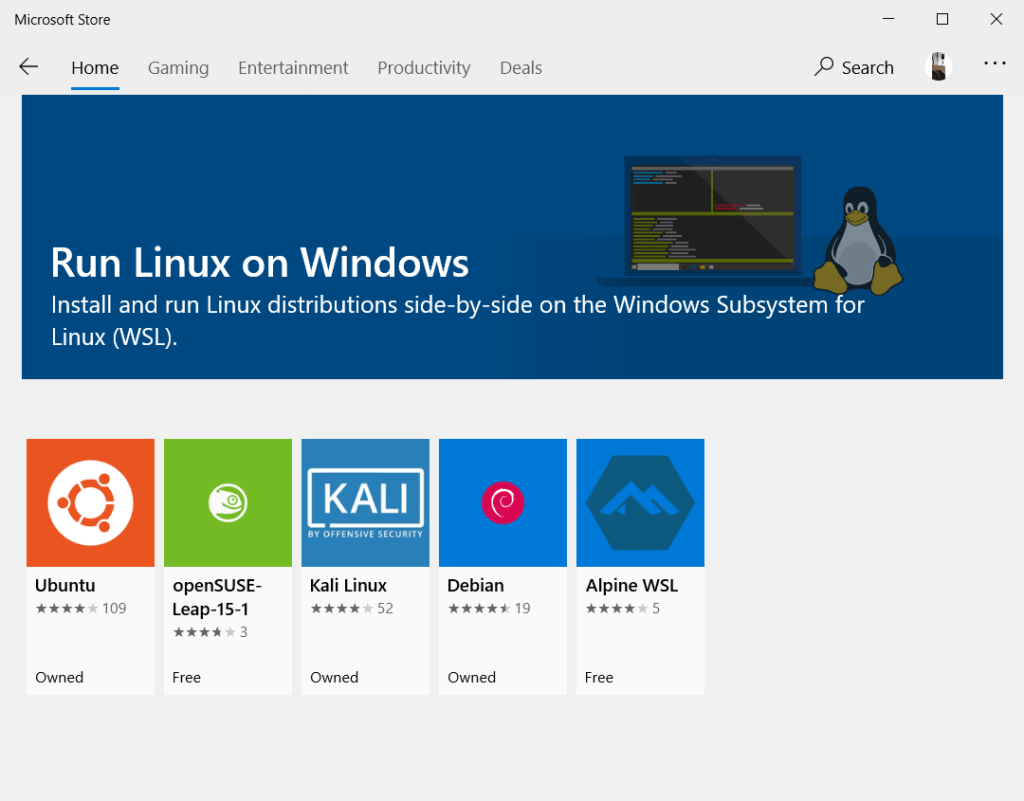
Install your Linux distribution from the Microsoft Store:
Now WSL2 is installed and set as default, you can install a Linux distro from the Microsoft Store: